
Recipe: Emily’s Summer Salad

Fresh salad is good for the body and for the tastebuds. I love going out to harvest a little bunch of lettuce and bringing it in for a salad. We offer a mix of lettuces that you can start in early spring or late summer for spring and fall salads. You can find those here. Lettuce can be grown indoors as well since it tolerates partial shade. This recipe is light and has a wonderful citrusy taste. It’s perfect for parties and gatherings.
Prep Time: 15 minutes
Servings: Makes one large salad as seen in the photos.
INGREDIENTS
FOR THE SALAD
4-6 cups Lettuce mix
2 apples
4 large carrots or 10 baby carrots
4-6 sweet peppers
1 cucumber
4-6 oz goat cheese
1 package of craisins
*You can adjust any of the above measurements to match your personal preference.
FOR THE DRESSING
Juice of 1 lemon
Equal amount of canola oil as lemon juice
2 cloves garlic
Salt
Pepper
*Mix and let sit a couple hours in advance
INSTRUCTIONS
Start with the dressing. Mix it up thoroughly and allow it time to sit in the fridge if you have that option.
Chop lettuce. I like to use a variation of lettuces to add color and variety.
Chop all your vegetables into small pieces. I like to slice the cucumber and I make sure the peppers and carrots are diced into small bits.
Sprinkle all the toppings over the lettuce. Do not add the dressings until just before you are ready to serve the salad. Once the dressing has been put on, the salad will not keep.
As soon as you are ready to serve, coat all the ingredients with the dressing.


If you’re interested in growing any of the other ingredients in this salad they can be found here: cucumber, red pepper , carrot. Cucumbers and peppers should be started in early spring and carrots are a cold crop that can be started in early spring or direct sown in mid/late summer so that they mature in the fall (later if you’re in zone 8+ or earlier if you’re in zone 4 or lower).


Thank you to Emily Davis for letting me post her recipe. This is one that she came up with and would bring to family parties and baby showers. I loved it so much that I asked her for the recipe and it’s become one of my favorites for summer evenings alongside fish or quiche.


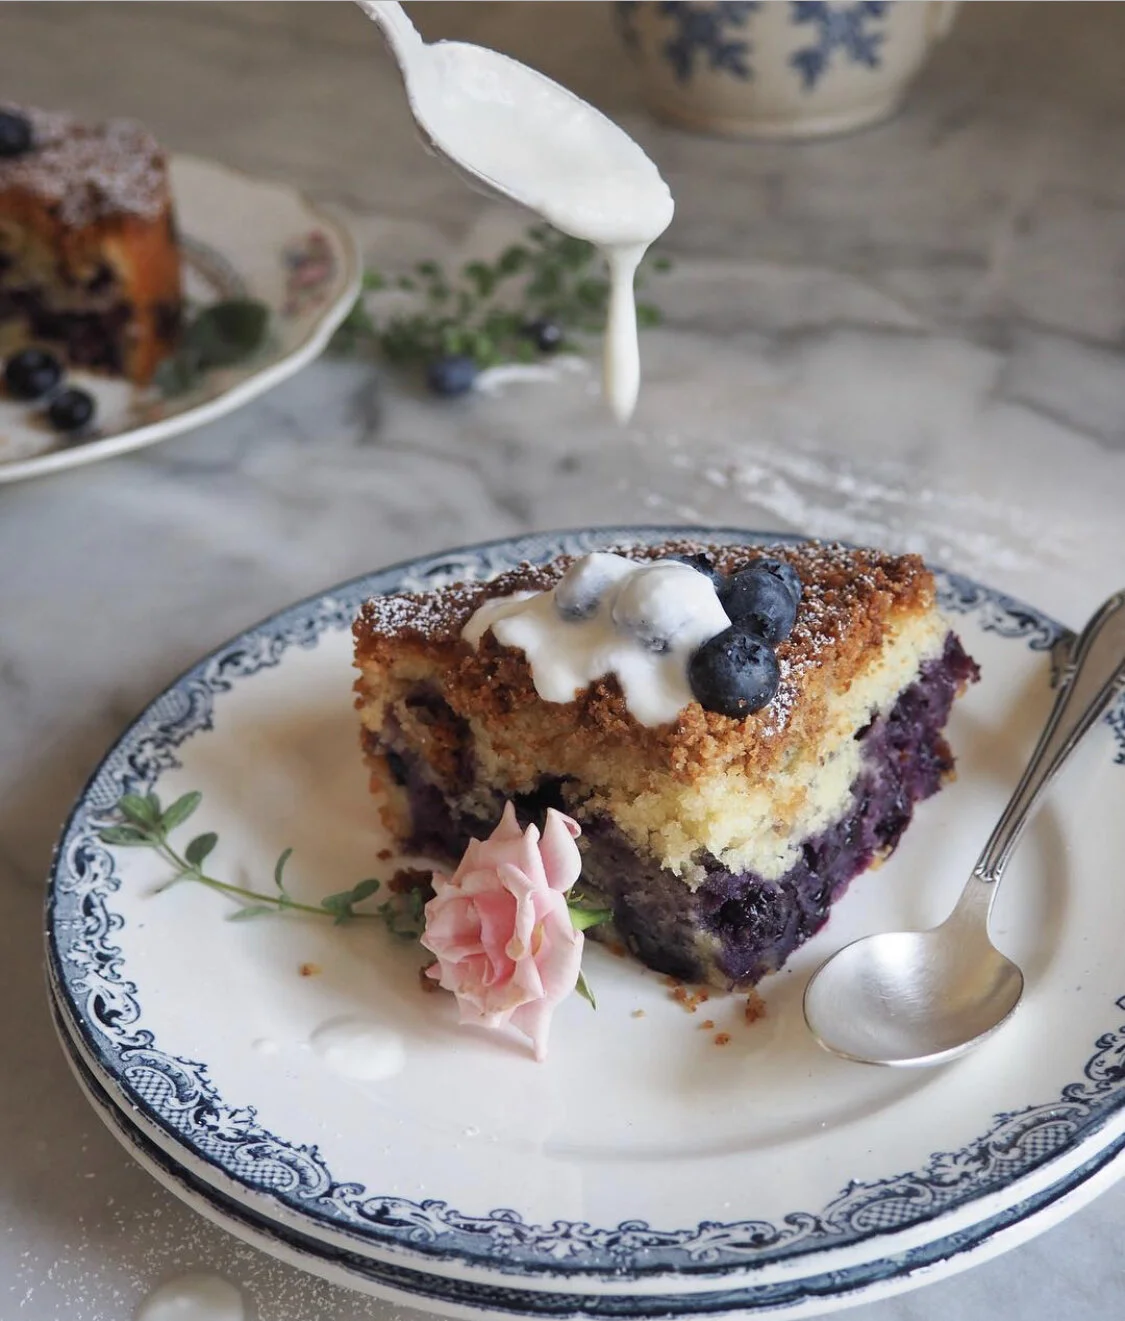
How To Use Edible Flowers With Molly J. Wilk
I had the pleasure of talking with Molly J. Wilk, a pastry chef and Le Cordon Bleu graduate from Austin Texas. Molly lives in Versailles where she teaches pastry making in her enchanting French apartment.
I’ve followed Molly on Instagram for about a year now, and I sincerely love seeing what new confection she will bake up next. I started to notice the thing that really sets her incredible creations apart is her use of flowers on her pastries.


She’ll make lemon tart with a dusting of lavender, cakes dotted in bright flowers, or macaroons glittering with crushed petals. I finally reached out to her, and she was nice enough to call from France to share with me some of her secrets to using edibles.


When working with edible plants on food, you need to make sure that they are culinary grade. This means they were grown in such a way that they can be safely eaten. Flowers, unlike food, are often cultivated with less regard towards chemicals and cleanliness because they were not grown with the intent to be eaten. Flowers from your local grocer are probably not clean enough to put on food, so use caution.
Growing edibles yourself is ideal because you can control the way in which they’re grown and make sure that they are clean and safe to be used around food. Molly has a little grow box on her balcony where she gets a lot of her herbs and blooms.

Another place she sources from is a little market in Versailles called Potger Du Roe which was created in the 17th century to supply fresh produce for the King’s Palace. It is available to be toured, which Molly would highly recommend if you’re ever in Versailles. There, she buys a barquet, which is little bundle of edible flowers that are grown with the intent to use on food. A barquet will include marigolds, calendula, lavender, or a few other herbs.
Herbs are one of Molly’s favorite edibles to use such as Oregano, Rosemary, and Pineapple sage. Herbs are highly scented which adds another dimension of beauty and flavor to pastries.


One rule of thumb Molly has is to only use plants on her food that can actually be eaten. On occasion she might top a cake with a non-edible flower for decoration, but not without taking preventative measures to protect it such as wrapping the stems with florist tape, using aluminum foil, or painting on a clear glaze you can make that preserves your delicious dessert.
The easier thing to do is simply decorate with edibles. And there is a large array to choose from: Marigolds, elderflower, dandelions, lilacs, chive blossoms, calendula, acacia. Some of the real beauties are roses, peonies, daisies and pansies.

I asked Molly this question: Are the flowers meant to be eaten? She says that it depends, and in some cases the flowers are very much meant to be a part of the pastry flavor and texture. Dried flowers tend to be a good way to add a different dimension without overpowering the flavor of the confection.


If Molly chooses to dry her flowers, she washes them and sets them on a paper towel to be left on the counter for a few days until they are dry. You can also hang larger bundles of herbs and flowers with twine until they are dry enough to store in a jar or paper sack.
Drying flowers can be a really good way to preserve memories: a bouquet from a wedding, a favorite party, or some herbs snipped from home. Every time you go to use them the memory of their origin will be there for you.

If you’re interested in learning more about how to make French pastries and using edibles, Molly offers online pastry classes. She also does surprise Bake Alongs and posts recipes on her Instagram @mollyjwilk and her website. Huge thank you to Molly for sharing with us her knowledge and know how!

If you want to grow your own edibles for drying and baking, we have plenty of beautiful herbs which can be found here or various varieties of flowers which you can find in these links: calendula, pansies, stock, and snapdragons.
Also, be sure you know which flowers are edible and which are not because some are poisonous such as foxglove and sweet peas.


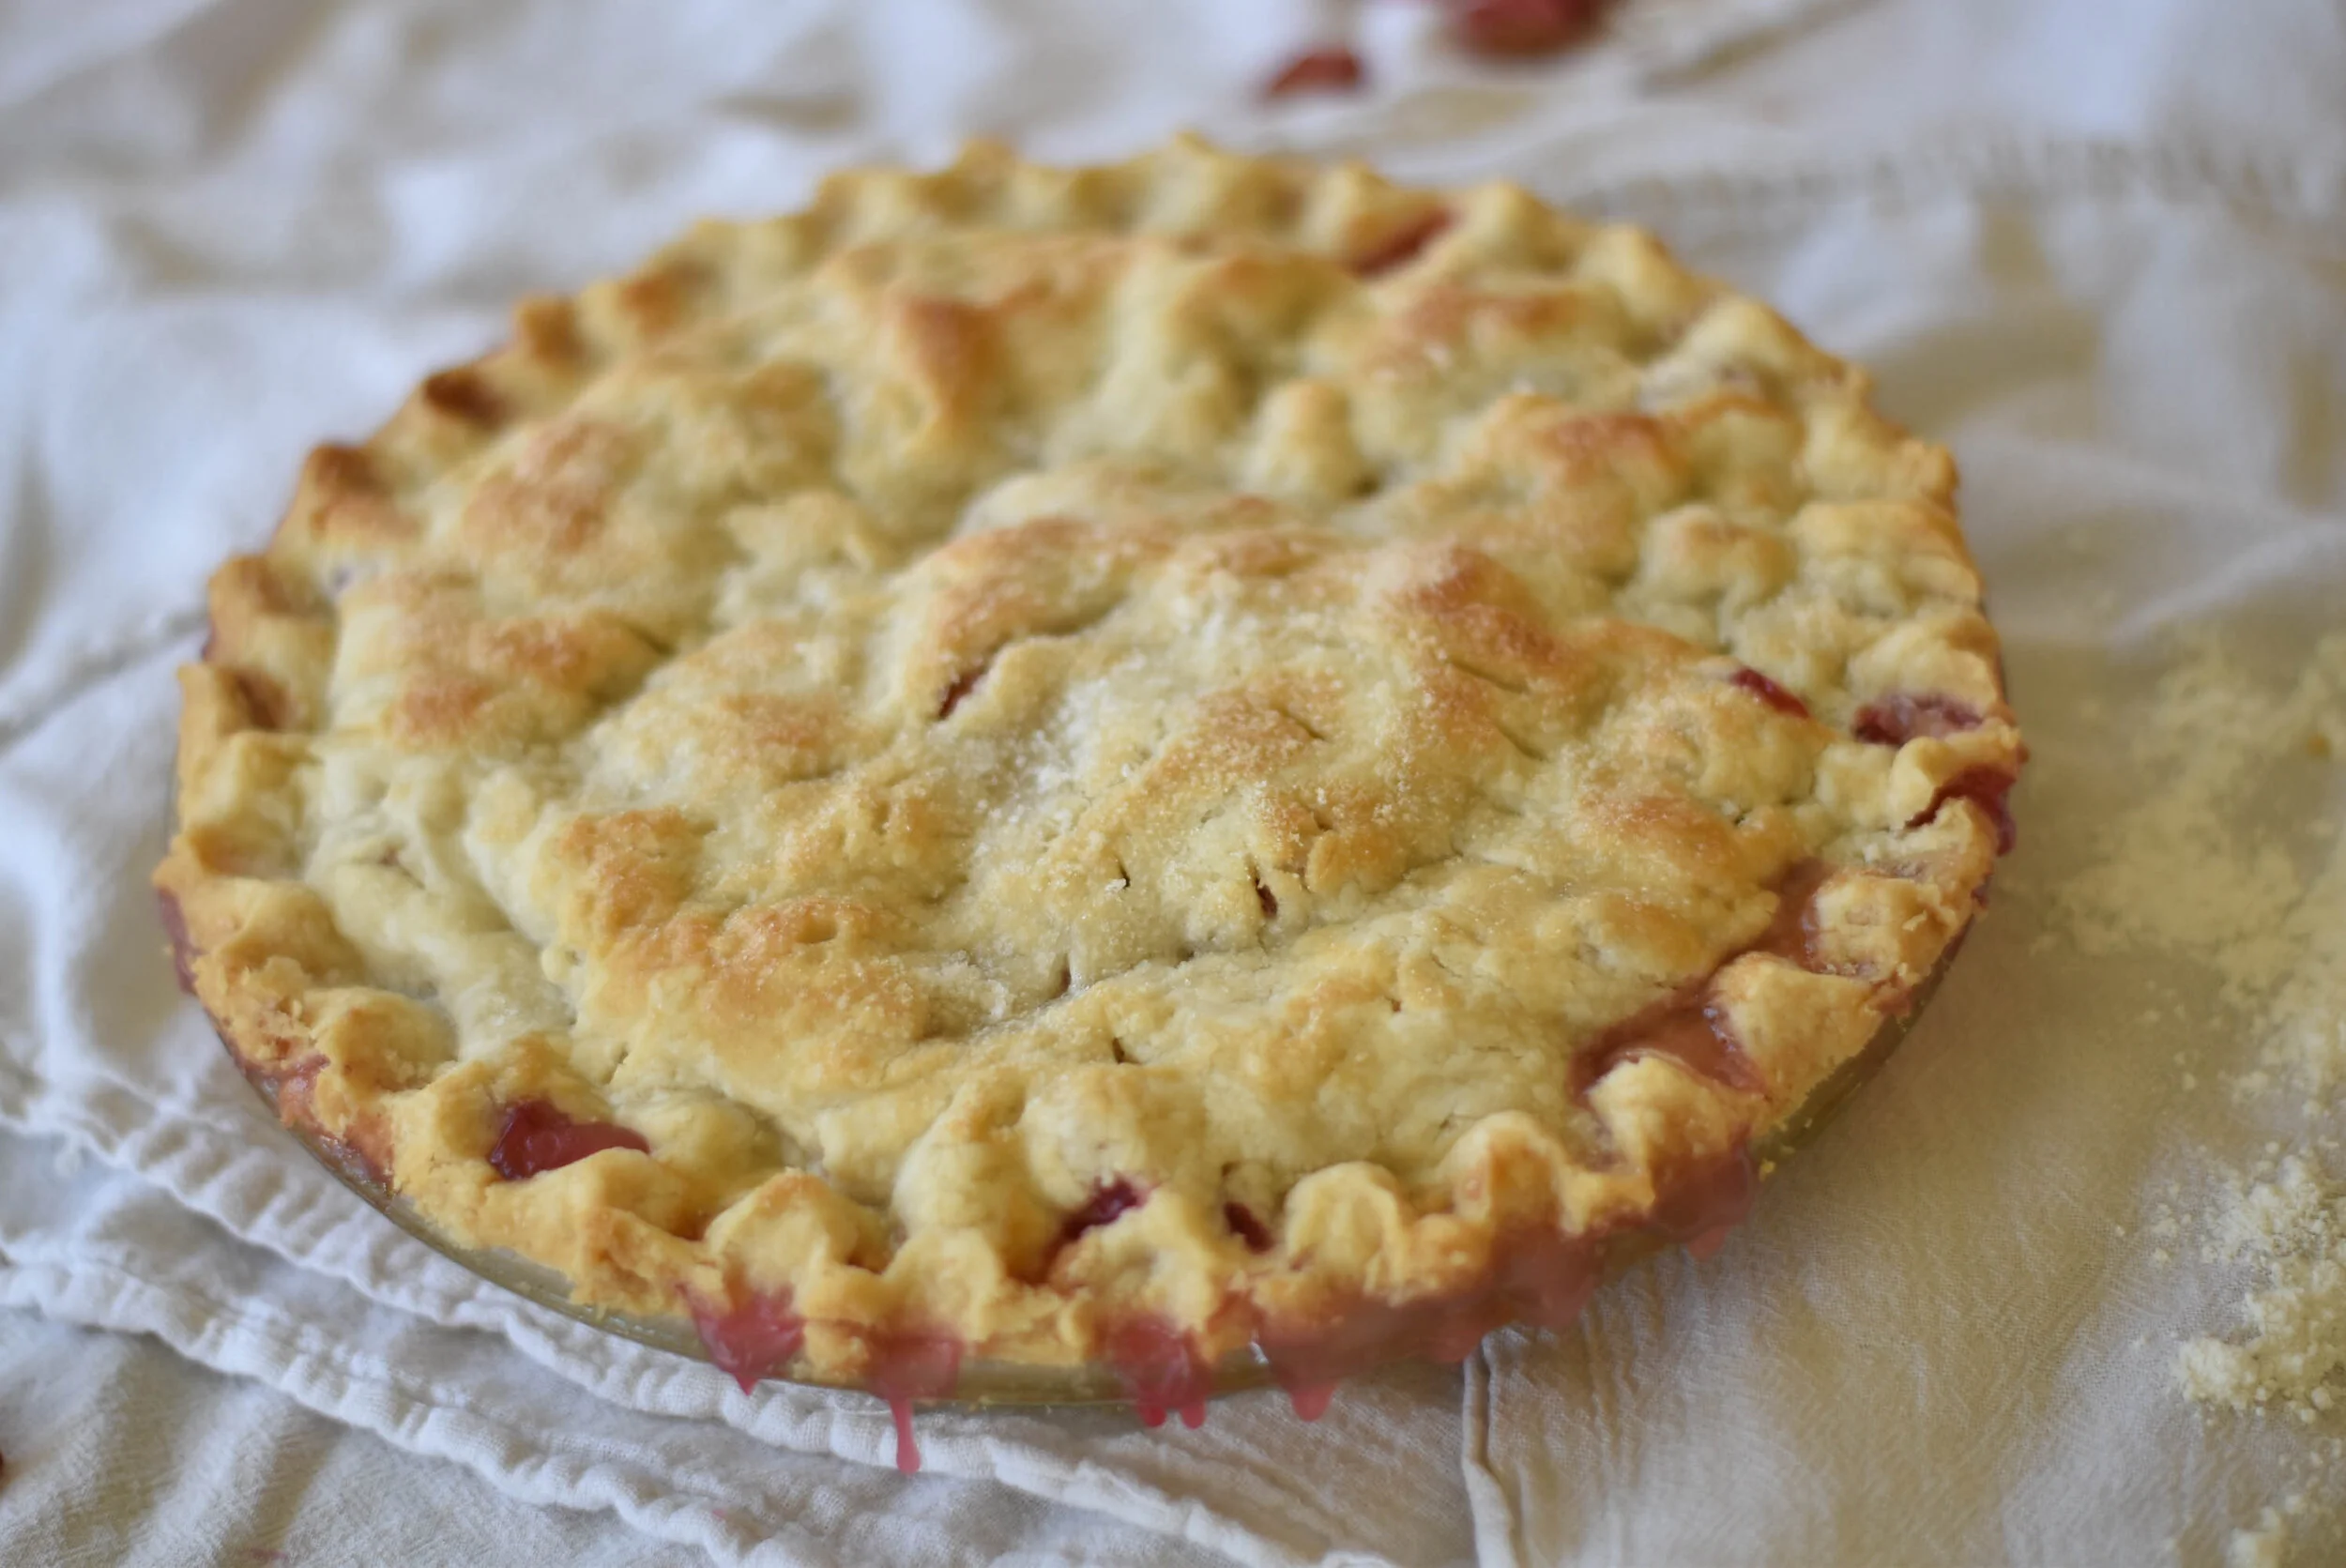
Recipe: Rhubarb Pie

I don’t know if there’s anything more delicious on this earth than warm fresh pie with a scoop of ice cream. This recipe is one that has been handed down from mother to daughter for many many years. The crust is light and flaky and perfect. I hope it will become a favorite in your home as well.
Prep Time: 30 minutes
Cook Time: 1 hour 15 minutes
Total Time: 1 hr 45 minutes
Servings: Makes one pie
INGREDIENTS
FOR THE CRUST
Combine with a pastry cutter:
2 cups Crisco
4 cups flour
⅔ T. salt
Add to mixture:
⅔ c. water approx
At the end:
2 T milk
3 T sugar
FOR THE FILLING
4-5 cups chopped rhubarb
1 ⅓ cup sugar
6 T flour
4 T butter
Bake for 1 hour and 15 minutes at 350
INSTRUCTIONS
*Making a pie is going to be a little different where you live so this recipe might need to be tweaked here and there to be perfect for where you live.
Using a pastry cutter (or a fork if you don’t have one) combine flour, salt and Crisco. Work the mixture together until it starts to conglomerate into balls like little peas.
Then you’ll add the water. This part is critical and will vary a lot based on the humidity in the air. If you live in a very humid place you will use less water than in this recipe. If it is a very dry day then you might use slightly more. Better to err on the side of using less water to begin with and then you can add more if needed. Refer to the photos below to get an idea of the consistency you’re looking for. It should feel a bit like play dough. If the dough is crumbly and falls apart easily then it needs a bit more water.
Once you’ve achieved the right consistency, split your dough into two parts and roll them into two balls. (See photos below) On a lightly floured surface roll the first ball into a circle about ¼ inch thick and 2 or 3 inches larger than your pie tin. Then take the crust and fold it onto itself to create a semi-circle shape (See photos below). Then carefully lift that onto a pie tin. If you are unable to do this because the crust is falling apart then you don’t have enough water in your crust or you have rolled it too thin. Once the semi-circle of crust is on the pie tin, carefully unfold it so that the whole thing hangs over the edge of your tin.
This is a good time to preheat your oven to 350 F. Using a sharp knife, chop the rhubarb into one inch slices. Combine the sugar and flour and coat the rhubarb in the mixture. Pour the filling into the pie tin. Using a butter knife place pats of butter scattered over the rhubarb. This works best with butter that is room temperature.
Re-flour your surface and follow the instructions from Step 3 with the 2nd ball of dough making sure that the dough is wide enough to hang over the edge of the pie tin so that the lower crust and the upper crust have contact with each other.
To seal the pie you will take the index finger and thumb of your dominant hand and place it at the edge of the pie tin. Then using your opposing hand, use your thumb to pinch the crust, creating a pattern effect that also seals the filling in the pie and makes your pie beautiful. Proceed around the perimeter of the pie, pulling with your thumb and pushing with your two fingers (See photos below).
Using a sharp knife, create little slits in a circle formation around the pie for ventilation. Using your fingers, dab milk over the top crust and scatter a little handful of sugar over the top.
Your pie is ready to go in the oven. Place a large piece of foil below the pie because it will likely leak slightly. Bake at 350 degrees for approximately one hour and 15 minutes. The time will vary slightly based on altitude and how hot your oven bakes so rather than going on time be sure to keep a close eye on it. After about 45 minutes place a piece of foil over the pie (simply on top like you might do with a piece of paper, not scrunched around it. You won’t want to take the pie out of the oven to do this). Keep an eye on your crust and when it looks lightly brown but not dark brown in any place and looks like it has little pink bubbles in some places it is ready!
Place your pie in a safe place with a clean cloth over it until it is warm. Serve with a scoop of ice cream and you will be in heaven!
My Mom has been making pies all her life and is a master. I photographed her making one for you so you can use it as a reference. I would sincerely love to see YOUR pie so please post a photo of it on social media if you have it or leave a comment here! I hope you love this pie as much as I do! -Sara Haller


Also my Mom is an angel on earth and just looking through these pictures makes me feel all the nostalgia of sitting and talking to Mom while I watch her make her pies. Thanks Mom for sharing your ways with all of us and also for always being there to laugh and listen.
Sara ;)