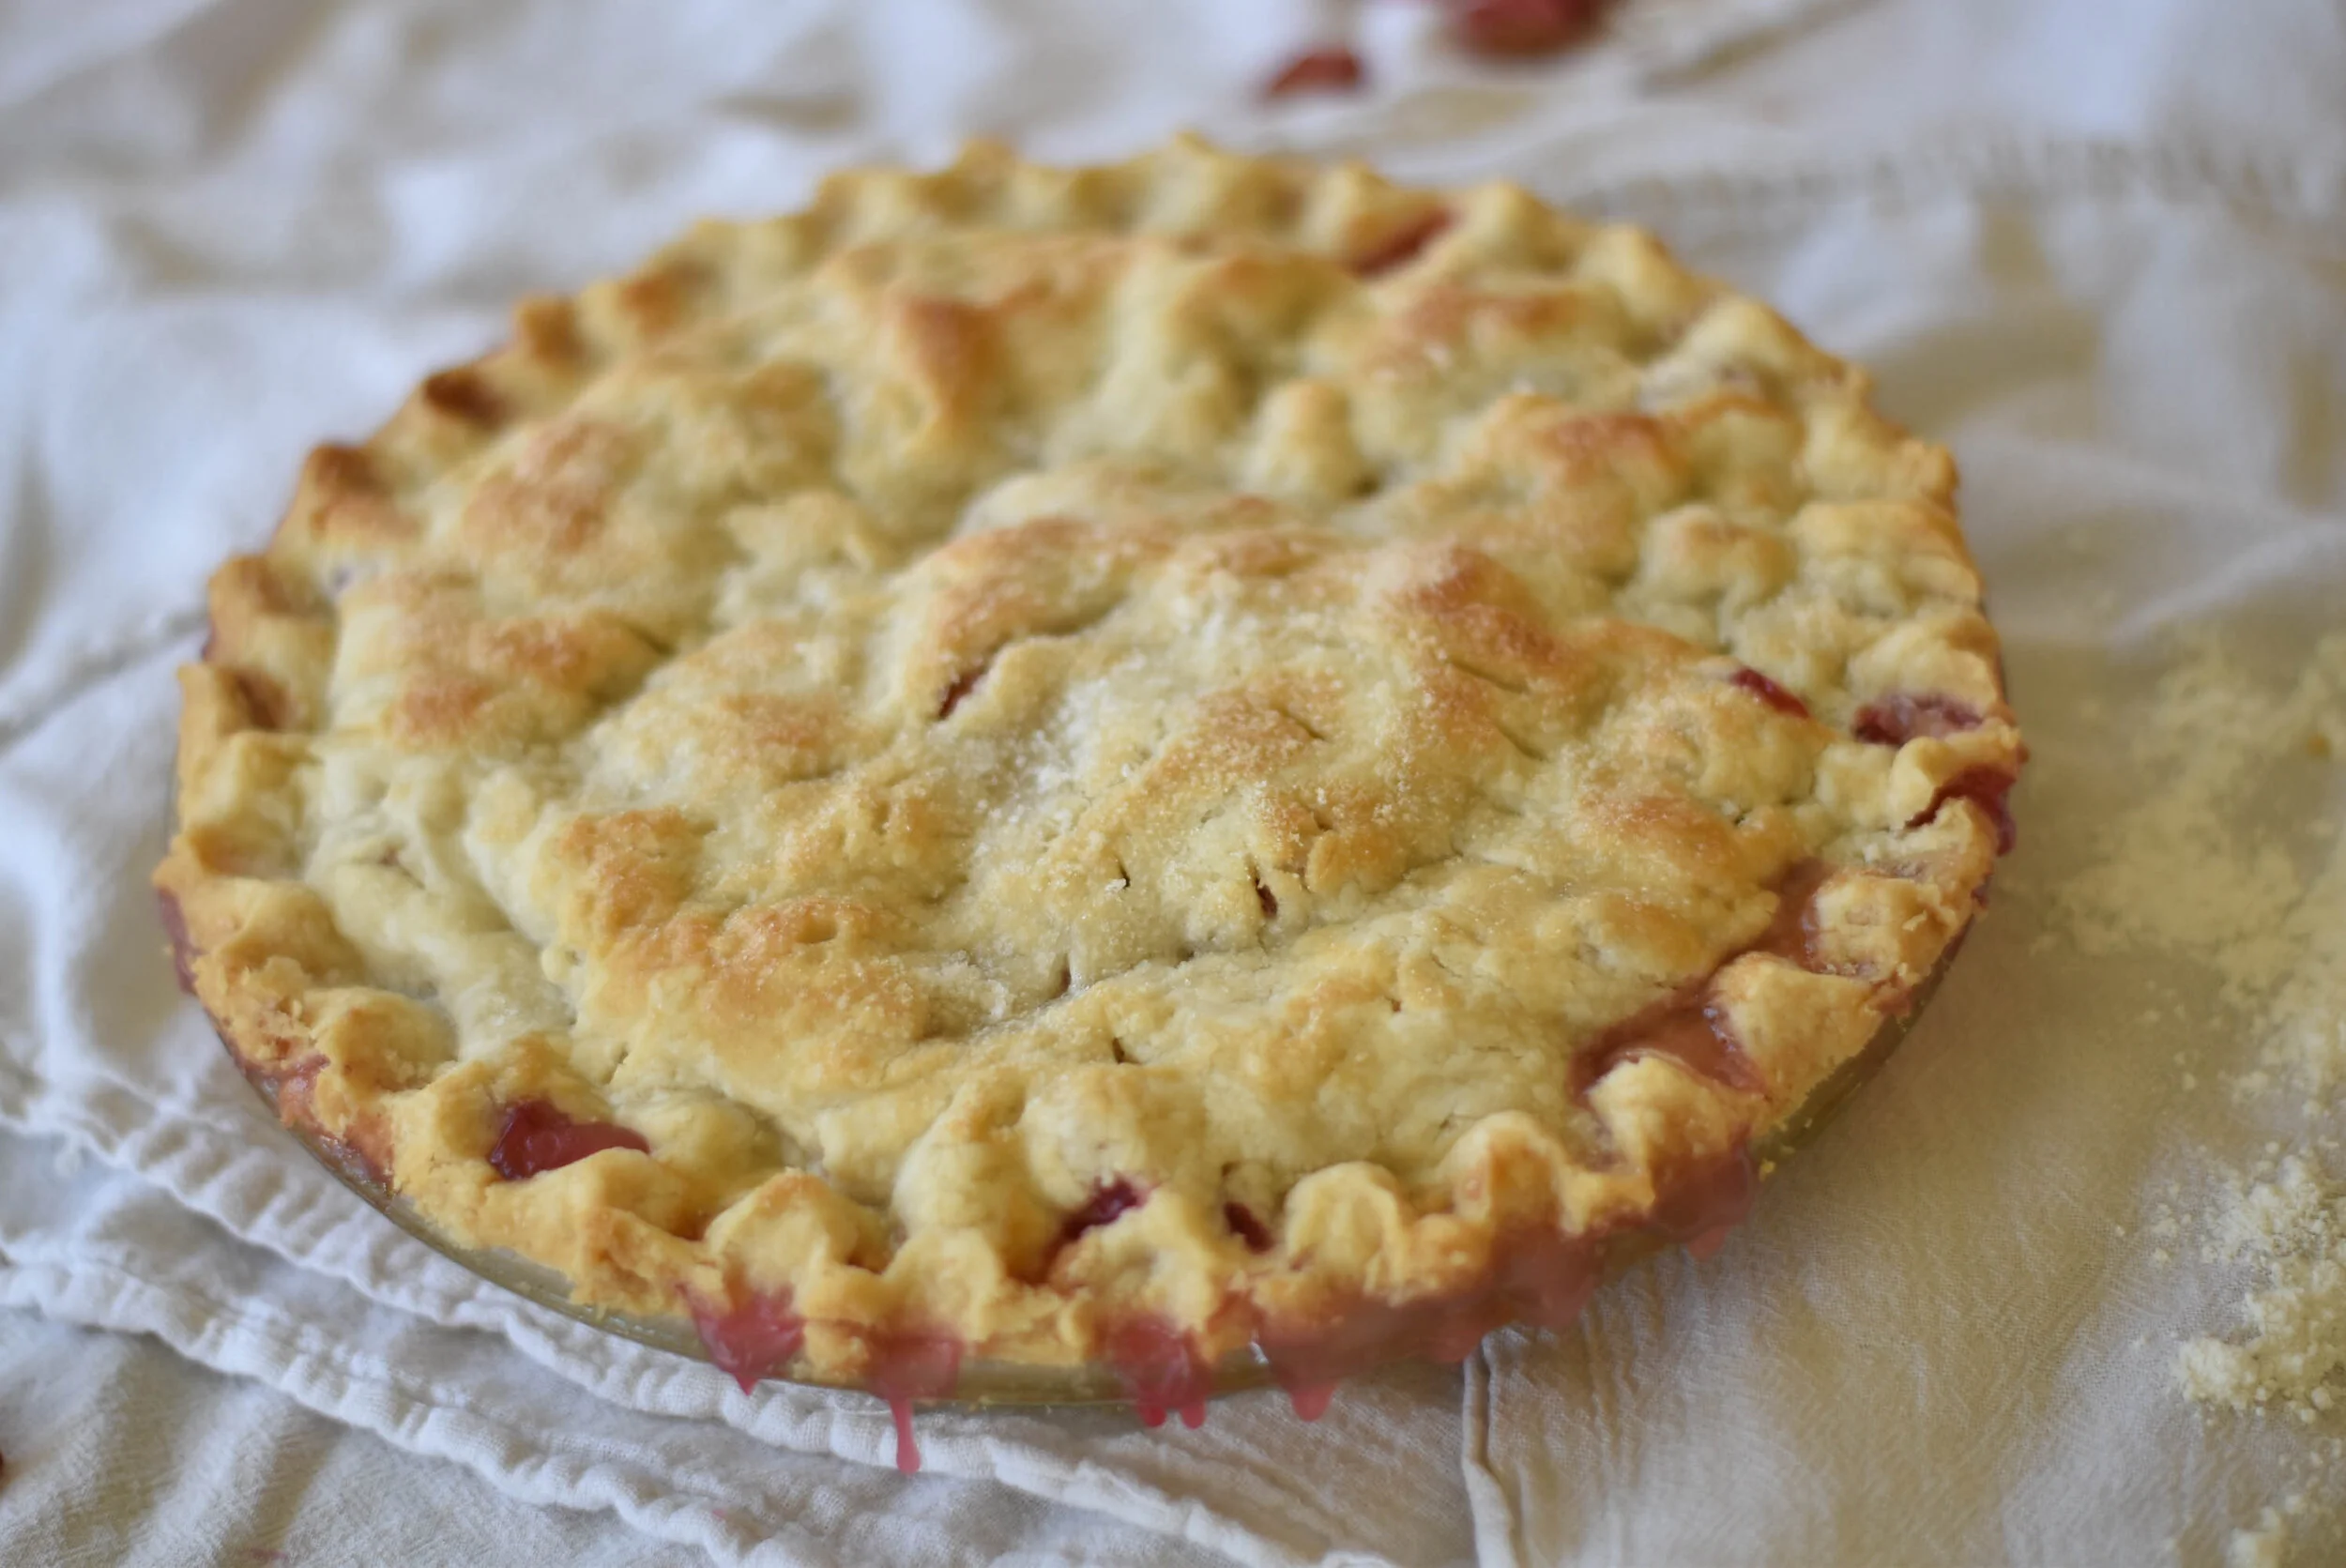
Recipe: Rhubarb Pie

I don’t know if there’s anything more delicious on this earth than warm fresh pie with a scoop of ice cream. This recipe is one that has been handed down from mother to daughter for many many years. The crust is light and flaky and perfect. I hope it will become a favorite in your home as well.
Prep Time: 30 minutes
Cook Time: 1 hour 15 minutes
Total Time: 1 hr 45 minutes
Servings: Makes one pie
INGREDIENTS
FOR THE CRUST
Combine with a pastry cutter:
2 cups Crisco
4 cups flour
⅔ T. salt
Add to mixture:
⅔ c. water approx
At the end:
2 T milk
3 T sugar
FOR THE FILLING
4-5 cups chopped rhubarb
1 ⅓ cup sugar
6 T flour
4 T butter
Bake for 1 hour and 15 minutes at 350
INSTRUCTIONS
*Making a pie is going to be a little different where you live so this recipe might need to be tweaked here and there to be perfect for where you live.
Using a pastry cutter (or a fork if you don’t have one) combine flour, salt and Crisco. Work the mixture together until it starts to conglomerate into balls like little peas.
Then you’ll add the water. This part is critical and will vary a lot based on the humidity in the air. If you live in a very humid place you will use less water than in this recipe. If it is a very dry day then you might use slightly more. Better to err on the side of using less water to begin with and then you can add more if needed. Refer to the photos below to get an idea of the consistency you’re looking for. It should feel a bit like play dough. If the dough is crumbly and falls apart easily then it needs a bit more water.
Once you’ve achieved the right consistency, split your dough into two parts and roll them into two balls. (See photos below) On a lightly floured surface roll the first ball into a circle about ¼ inch thick and 2 or 3 inches larger than your pie tin. Then take the crust and fold it onto itself to create a semi-circle shape (See photos below). Then carefully lift that onto a pie tin. If you are unable to do this because the crust is falling apart then you don’t have enough water in your crust or you have rolled it too thin. Once the semi-circle of crust is on the pie tin, carefully unfold it so that the whole thing hangs over the edge of your tin.
This is a good time to preheat your oven to 350 F. Using a sharp knife, chop the rhubarb into one inch slices. Combine the sugar and flour and coat the rhubarb in the mixture. Pour the filling into the pie tin. Using a butter knife place pats of butter scattered over the rhubarb. This works best with butter that is room temperature.
Re-flour your surface and follow the instructions from Step 3 with the 2nd ball of dough making sure that the dough is wide enough to hang over the edge of the pie tin so that the lower crust and the upper crust have contact with each other.
To seal the pie you will take the index finger and thumb of your dominant hand and place it at the edge of the pie tin. Then using your opposing hand, use your thumb to pinch the crust, creating a pattern effect that also seals the filling in the pie and makes your pie beautiful. Proceed around the perimeter of the pie, pulling with your thumb and pushing with your two fingers (See photos below).
Using a sharp knife, create little slits in a circle formation around the pie for ventilation. Using your fingers, dab milk over the top crust and scatter a little handful of sugar over the top.
Your pie is ready to go in the oven. Place a large piece of foil below the pie because it will likely leak slightly. Bake at 350 degrees for approximately one hour and 15 minutes. The time will vary slightly based on altitude and how hot your oven bakes so rather than going on time be sure to keep a close eye on it. After about 45 minutes place a piece of foil over the pie (simply on top like you might do with a piece of paper, not scrunched around it. You won’t want to take the pie out of the oven to do this). Keep an eye on your crust and when it looks lightly brown but not dark brown in any place and looks like it has little pink bubbles in some places it is ready!
Place your pie in a safe place with a clean cloth over it until it is warm. Serve with a scoop of ice cream and you will be in heaven!
My Mom has been making pies all her life and is a master. I photographed her making one for you so you can use it as a reference. I would sincerely love to see YOUR pie so please post a photo of it on social media if you have it or leave a comment here! I hope you love this pie as much as I do! -Sara Haller


Also my Mom is an angel on earth and just looking through these pictures makes me feel all the nostalgia of sitting and talking to Mom while I watch her make her pies. Thanks Mom for sharing your ways with all of us and also for always being there to laugh and listen.
Sara ;)